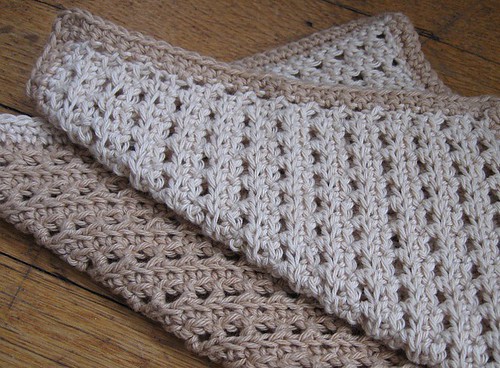
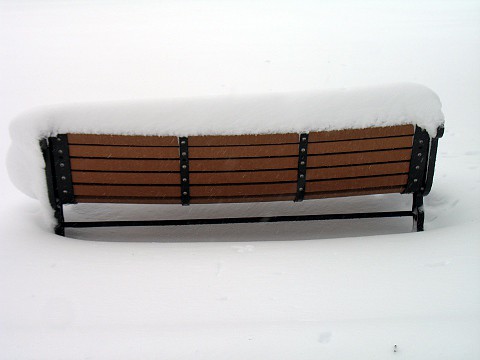
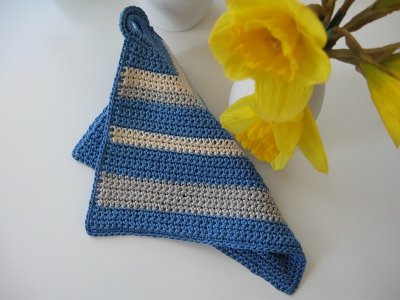
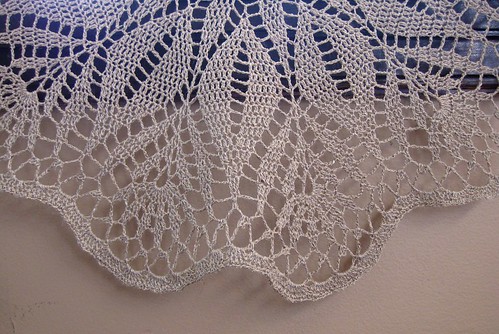
Isn't it nice to finally see and feel the first signs of Spring? I'm looking forward to the temperature climbing into the 50's this weekend. Just about time to do some spring cleaning. Since it's National Crochet Month, here's a washcloth crochet pattern I worked up for some gift-giving during the holidays. I wanted a pattern that wasn't too feminine, but also wasn't a plain Jane. This is what I ended up with-it uses an easy spike/relief stitch and a simple border all around. While I made it to use as a washcloth, it could fit right in in the kitchen too. I used sportweight yarns, but really any weight could be used.
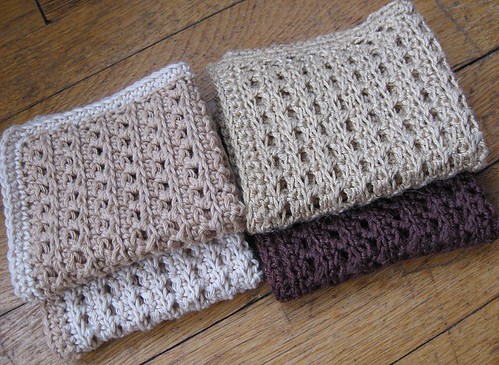
Knit Picks Simply Cotton Organic Sportweight yarn, Malted Milk and Ginger. You could crochet 2-3 cloths with one skein.

Berroco NaturLin, Oat and Chocolate. One skein makes one cloth, with a good amount left over, but not enough for 2 (in the size I made them).
Pattern: Open Ridge Washcloth
Dimensions 8 ½ inches by 8 ½ inches
Hook: G/4.0 mm
Yarn: Sportweight cotton or linen, such as Knit Picks Simply Cotton or Berroco Naturlin
Notes:
If you tend to hook tightly you may want to use a larger size hook for your chain row.
Work the chain at the beginning of each row loosely.
Increase or decrease the beginning chain row by even numbers in order to change the size of the cloth.
Any weight yarn will work-adjust the hook size and number of chains accordingly.
Instructions:
Chain 36 loosely.
Row 1: Sc in 2nd chain from hook, and 1 sc in ea ch to end. Turn.
Row 2: Ch 1, skip first sc, * skip next sc, hdc in next st, 1 hdc in space between last 2 st., * repeat from *to *, ending with 1 hdc in last sc. Turn.
Row 3: Ch 1, 1 sc in back loop of ea st, end with sc in the ch 1. Turn.
Repeat rows 2 and 3 until the cloth’s length is equal to its width, or to your desired size. End with row 3. Turn.
I added a simple edge of 2 rows of sc. Change it if you'd like!
Row 1: Ch 1, 1 sc in ea st across, 3 sc in the last stitch for a corner, sc evenly along each of the sides, continuing to place 3 sc in ea corner st. Sl st to first sc. Turn.
Row 2: Ch 1, 1 sc in first st of corner, place 3 sc in middle st of the corner, 1 sc in third st of corner, and continue 1sc in each st, and 3 sc in the middle st of each corner. Sl st to first sc. Fasten off.
Weave in ends and block lightly if needed.

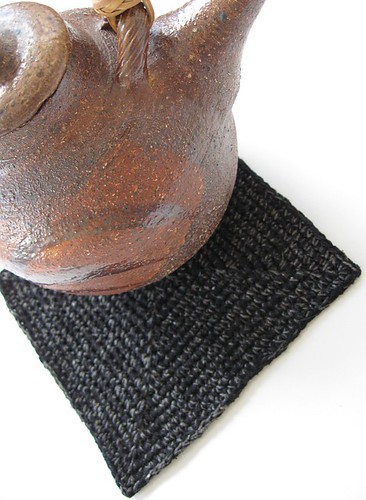
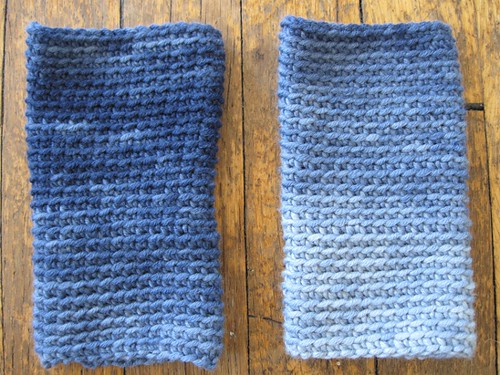
I'm using my initial swatches as coasters. These were made with Elesbeth Lavold Hempathy. They look spring-like to me!
(Off to Ravelry to add the pattern there)


