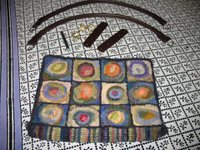
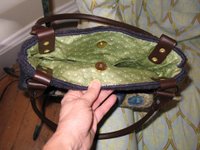
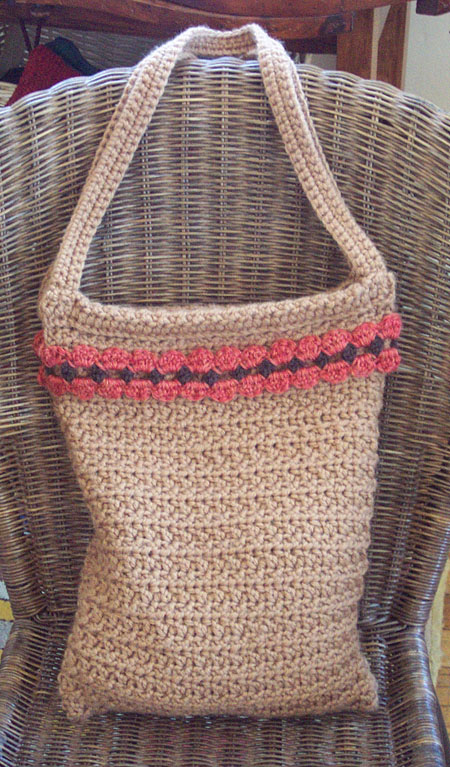
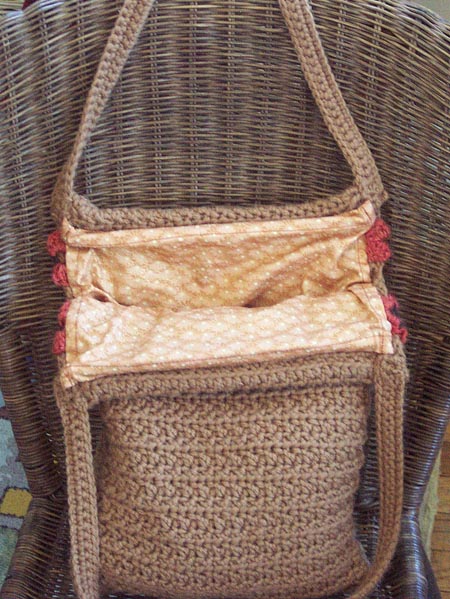
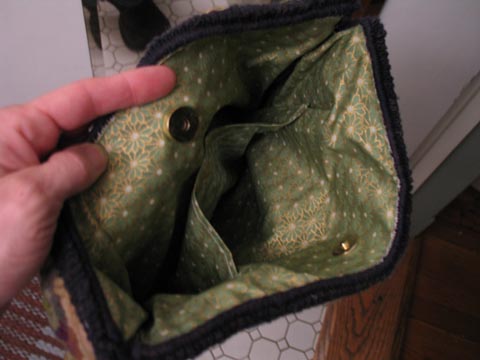
Here's the final putting together of the hooked handbag. Bear with me on the photos-they were taken at night with flash while I was working on the bag. First the lining was sewn in. The lining is about an inch larger than the width and and a little more than an inch longer than the length of the bag. I added a magnetic snap closure and an inside pocket.

To attach the handles I used handle straps and tabs from Tall Poppy, large rapid rivets from Tandy, along with a rivet setter. A hammer, tapestry needle, and small scissors were also used.
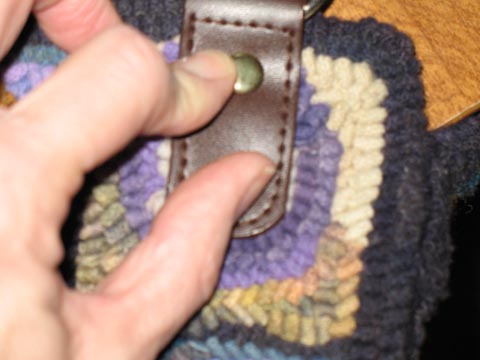
I prepped a hole for the rivet post with the tapestry needle. I also made a tiny snip in the lining to poke the post rivet through.

The post then was easily pushed through the back to the outside of the bag.
The handle strap ring was joined with the tab and the rivet cap was placed on top of the post.

The last step was placing the rivet setter on top of the cap and tapping it with the hammer to fasten the rivet. This is done on a hard, flat surface. The setter is rounded on one end so the dome of the cap doesn't get smashed.

The rest of the rivets were attached to the straps and bag. Easy!
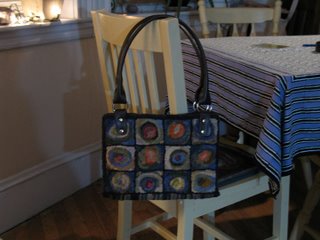
And lastly, a shot of the finished bag at night. My camera hasn't been working so a proper photo in natural lighting will have to wait until I can borrow a camera. I'm very pleased with how it turned out. It took me awhile to find handles the length and style I wanted. I'm glad I waited until I found what I wanted.

 I just finished blocking this doily and will send it off to my mom in the morning. She asked me to make her a set of blue doilies for the end tables in her living room. This was a fun and thankfully, easy pattern to do for my first thread crochet work.
 The details: Petite Pineapple Doily


